
_BestEstimatedROI_Roi.png)
_BestSupport_QualityOfSupport.png)


NexHealth Support

Send specialized messages for extractions or other procedures
Using NexHealth's Appointment Journeys, you can build fully customized messaging for any appointment type. This article illustrates an example using extractions.
The process of building a complete Appointment Journey includes 4 primary steps:
- Set up the specific Appointment Type for the procedure or Visit Type you are creating messaging for.
- Build the Appointment Type Map for the procedure you are creating the messaging for.
- Build the automated Reminder or Post Appointment Follow-up sequence
- Build the automated Recall sequence to get the patient to returnif desired
Part 1: Create the Appointment Type for the Procedure Code or Visit Type you want to create the custom messaging for.
1. Click on the gear icon and navigate to Settings --> Appointment Types. You can either choose an existing Appointment Type by clicking on the Edit icon or create a new one by clicking on Add Appointment Type
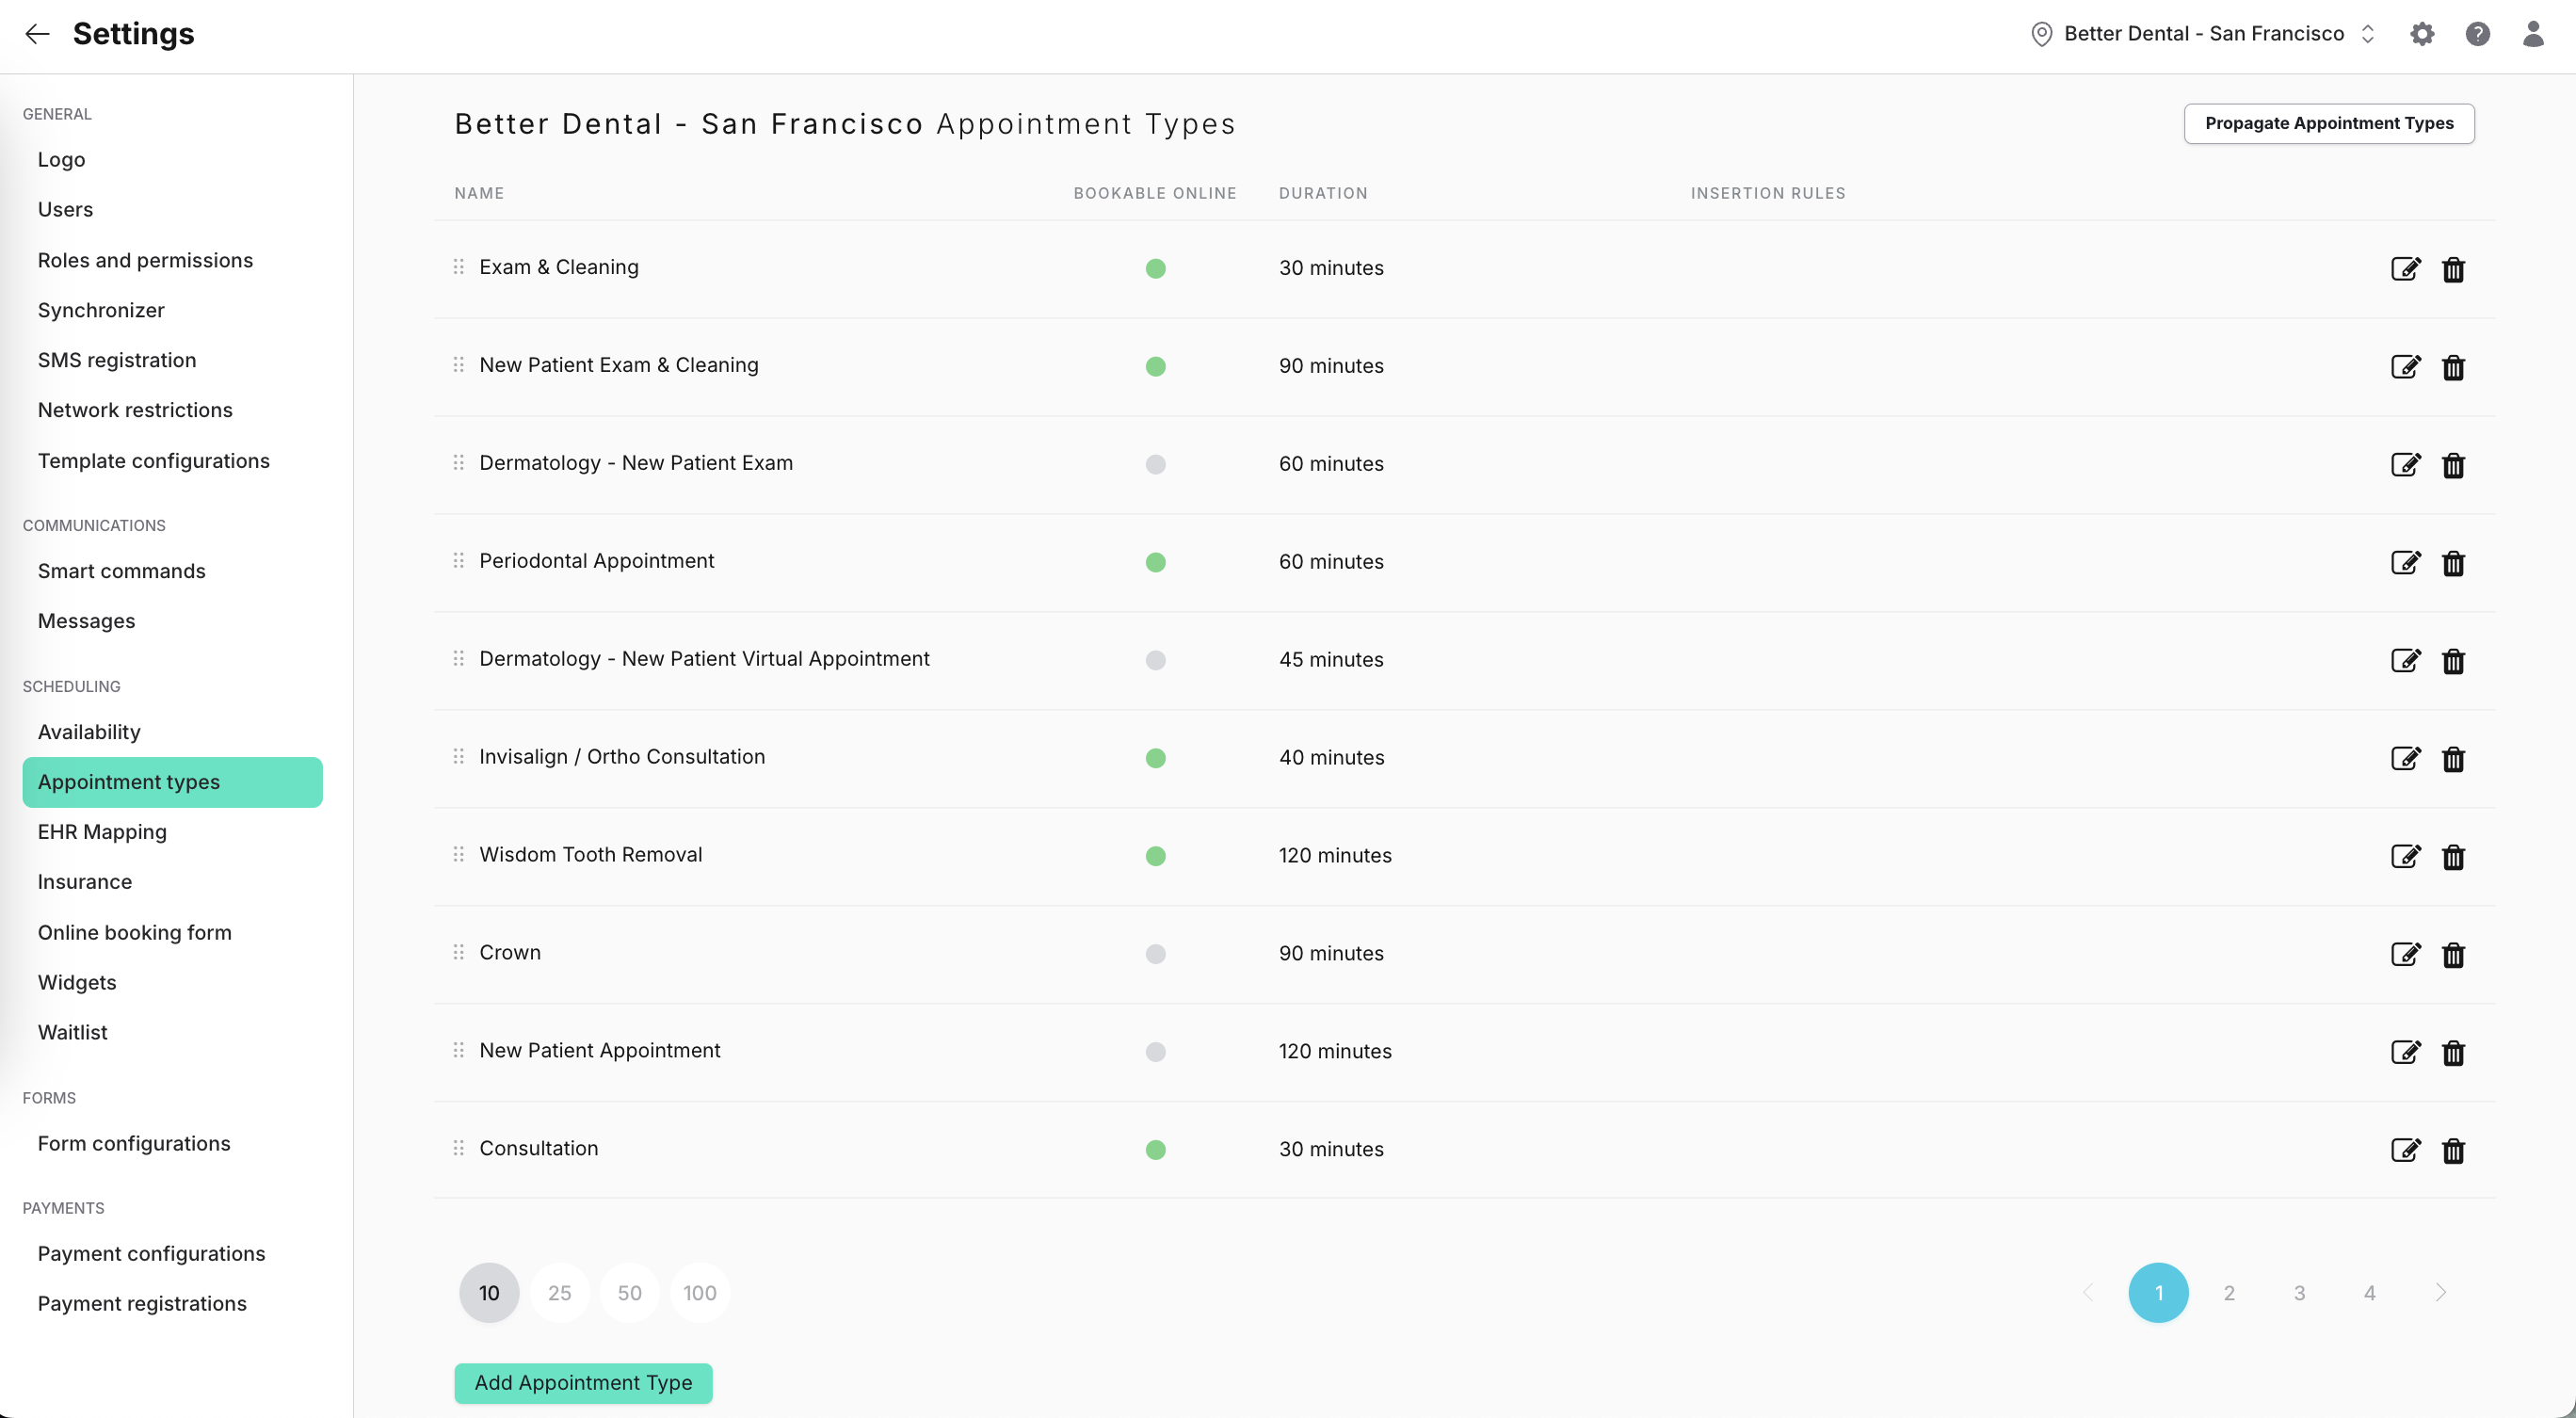
2. Appointment Type Details:
Name: This field is patient facing, so we recommend naming it in laymen's terms. Ex: Extraction instead of D7140
Show in online booking: Leave toggled on if you would like patients to be able to book this appointment type themselves.
Allow patient to cancel appointment: Leave toggled on if you want patients to be able to cancel and rebook the appointment within the Reminder Message
Duration: Set how long you would like the appointment to block on your calendar (if available to be booked online)
Insertion Rule: Click Add Rule and select the procedure code(s) you would like added to this appointment when it is booked. This is important!
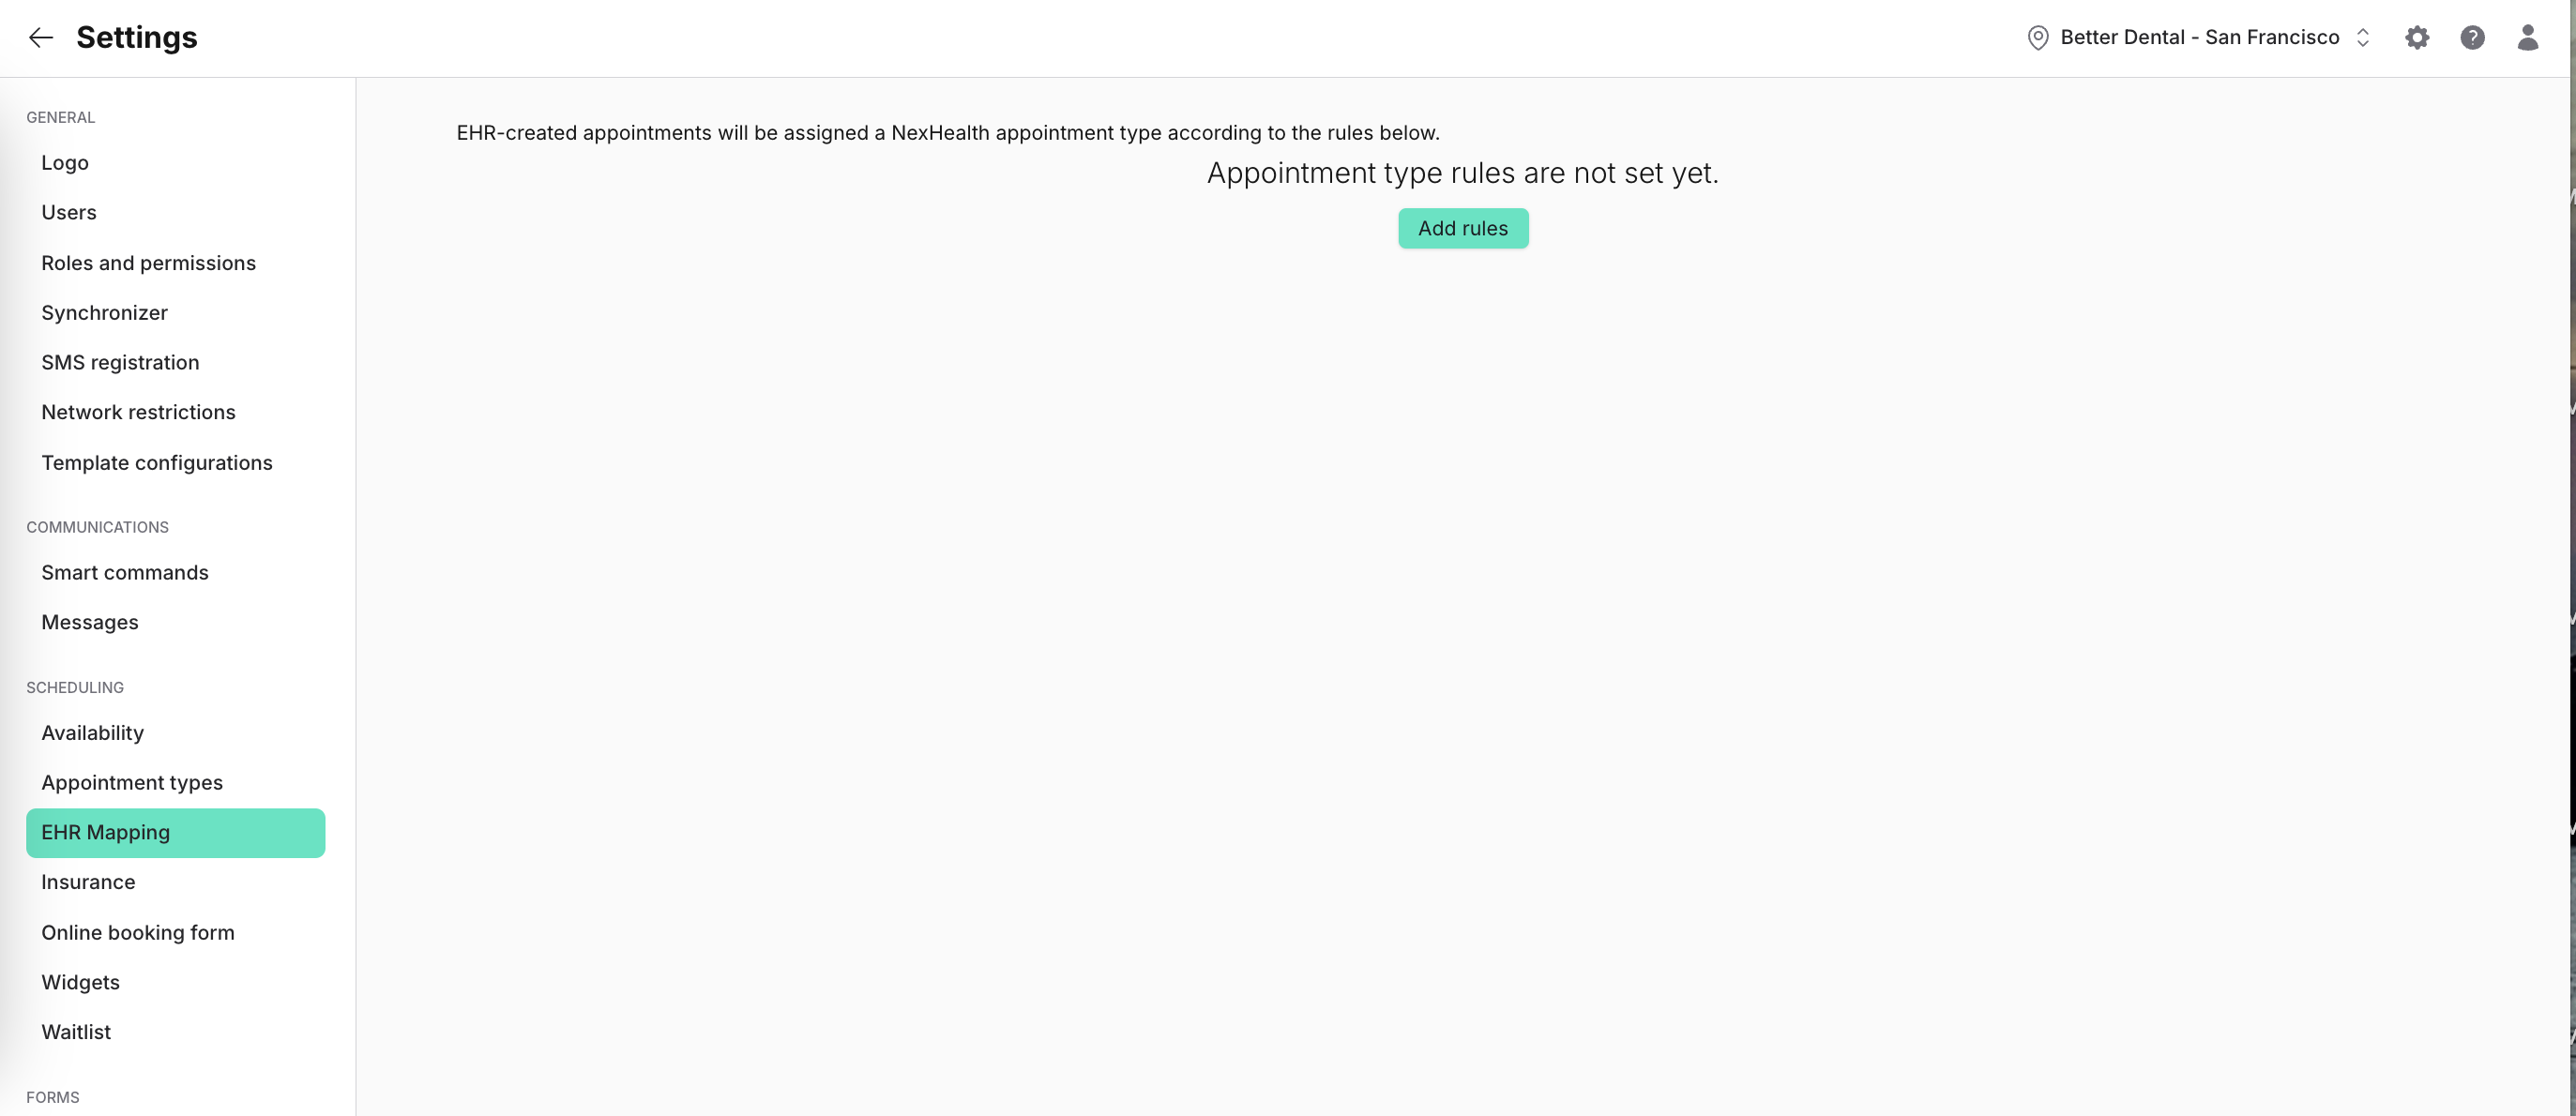
Part 32: Create the EHR map to identify the Appointment Type you just created
3. Navigate to EHR Appt Type Mapping. This is where we will add the procedure codes NexHealth will look for on appointments in your health record system to tag appointments as this type. Click on Add rules.
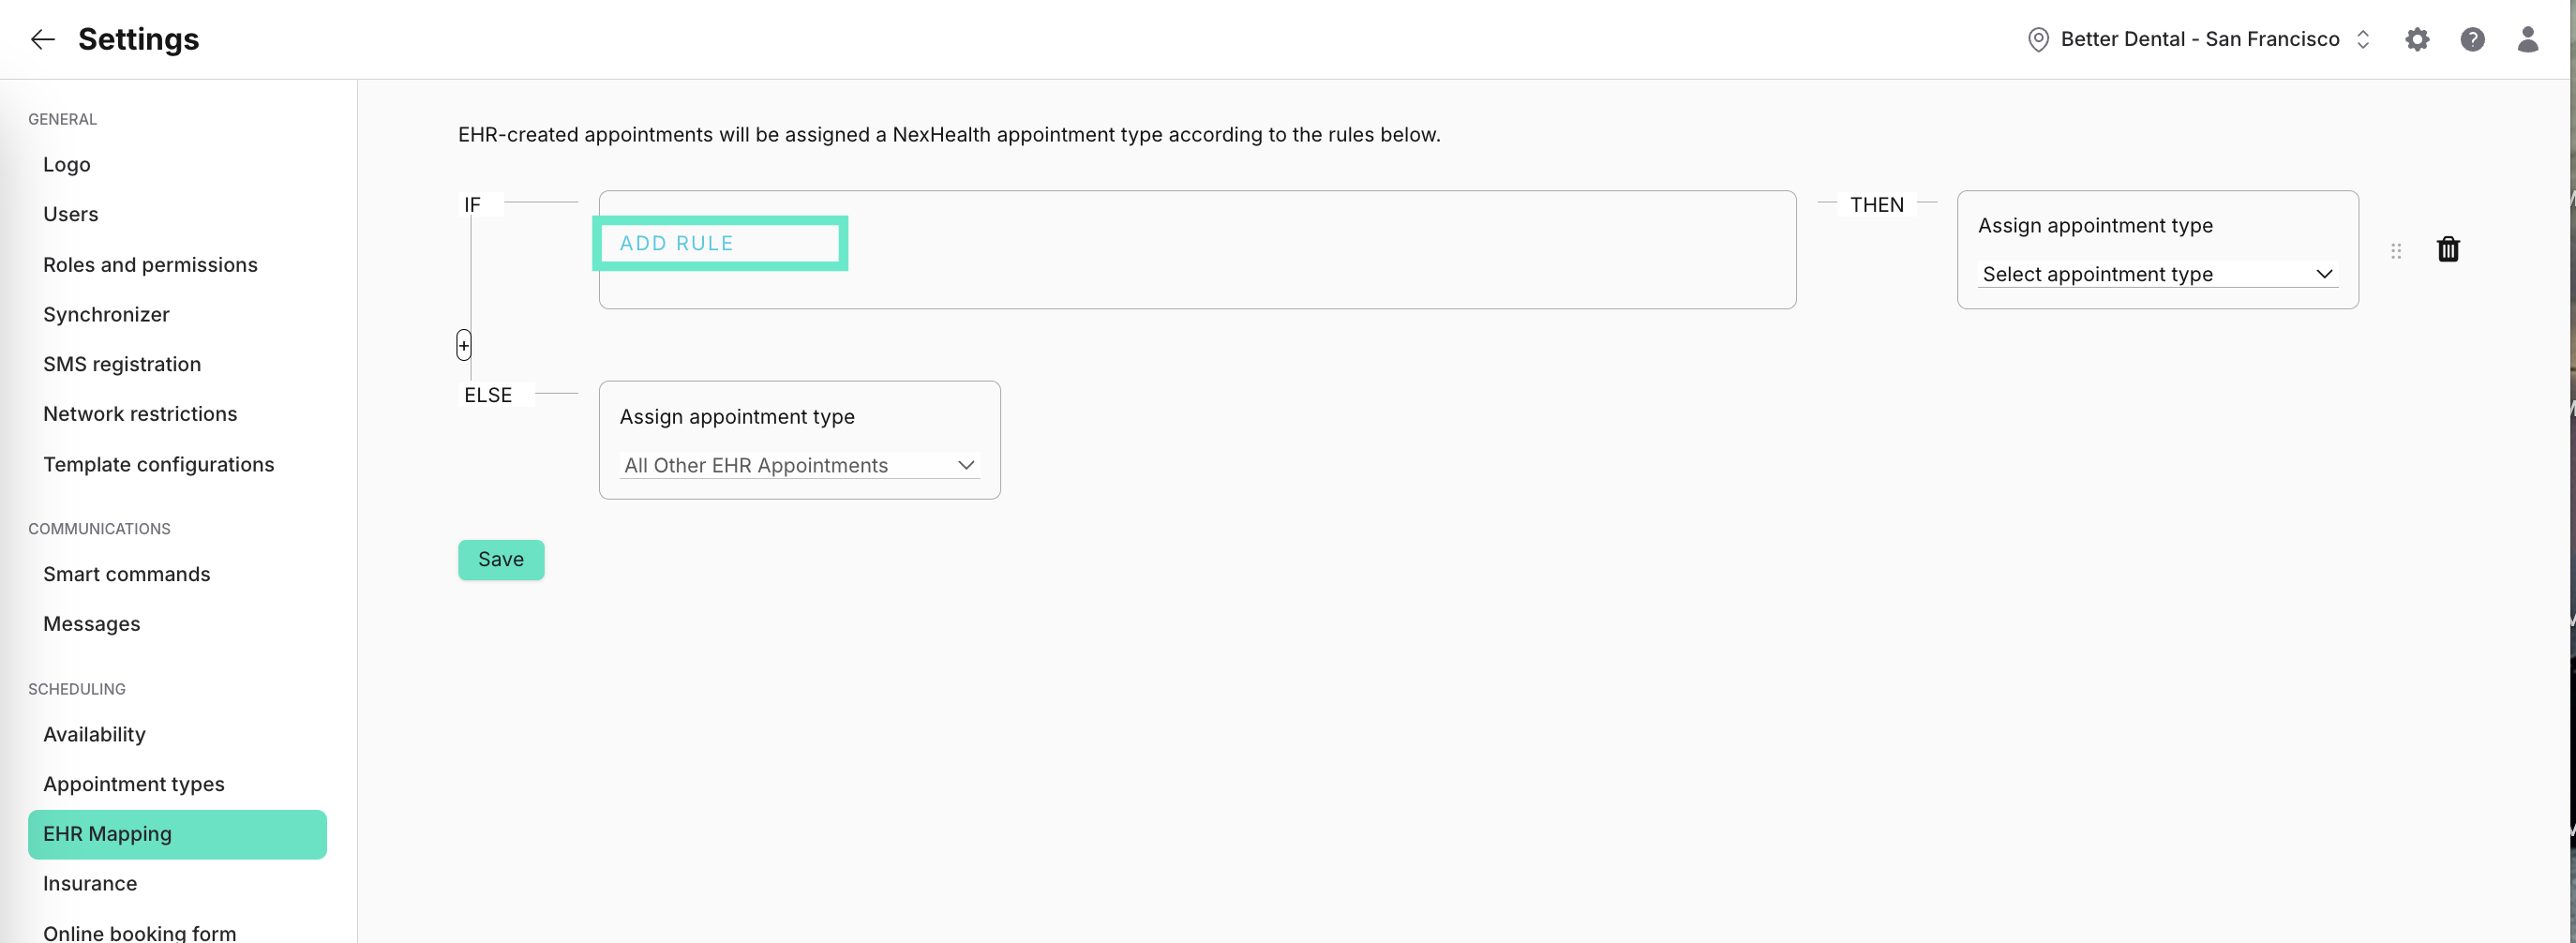
4. Then choose ADD RULE.
5. Switch the If dropdown to Procedure codes. Enter the procedure code(s) for the type of appointment you are working with in the Select descriptor field.
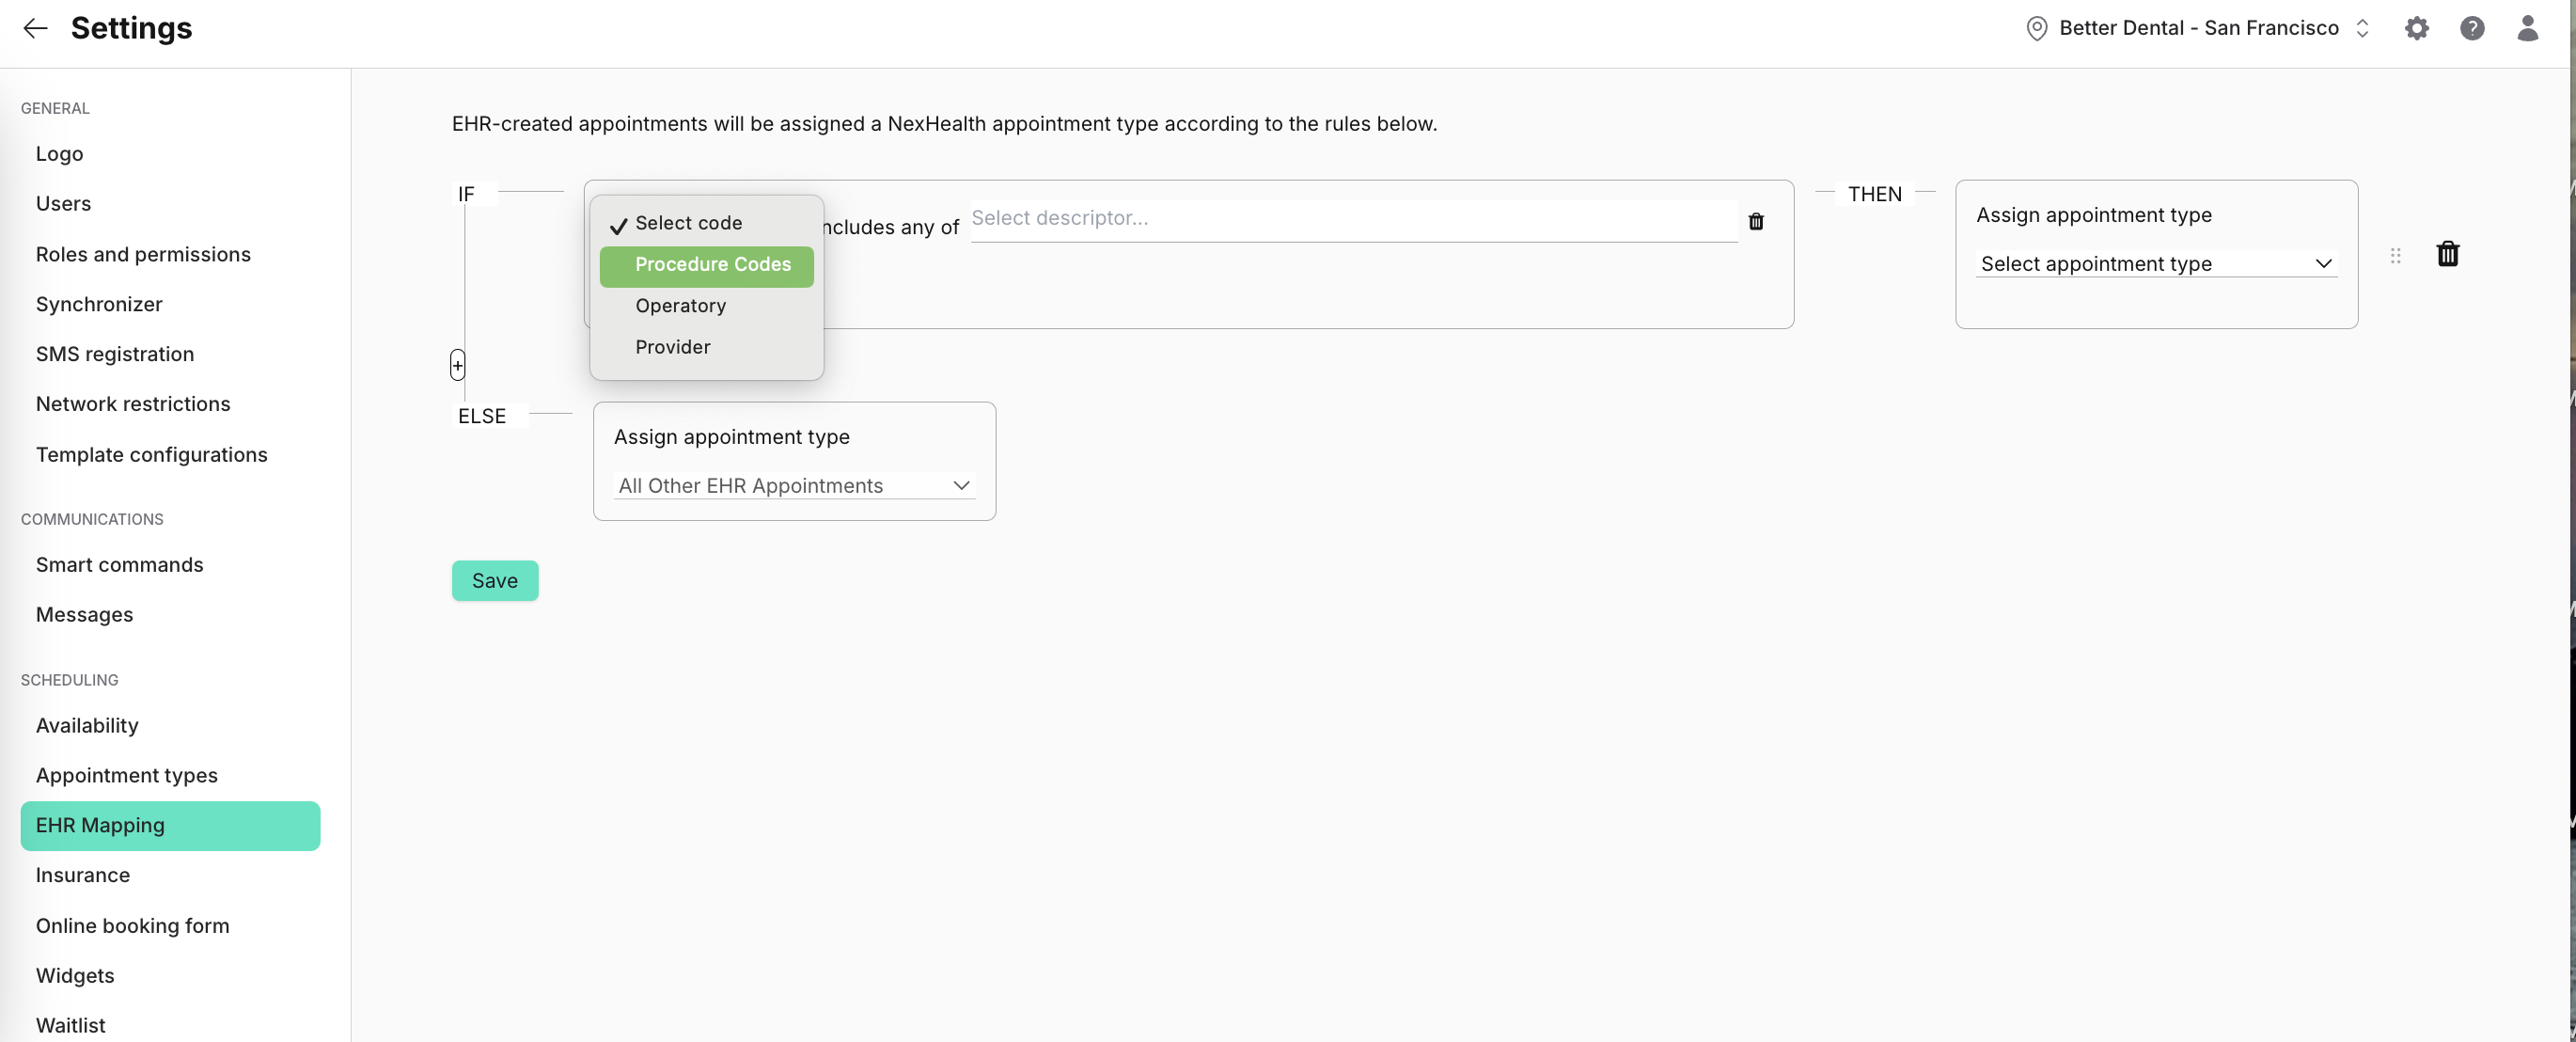
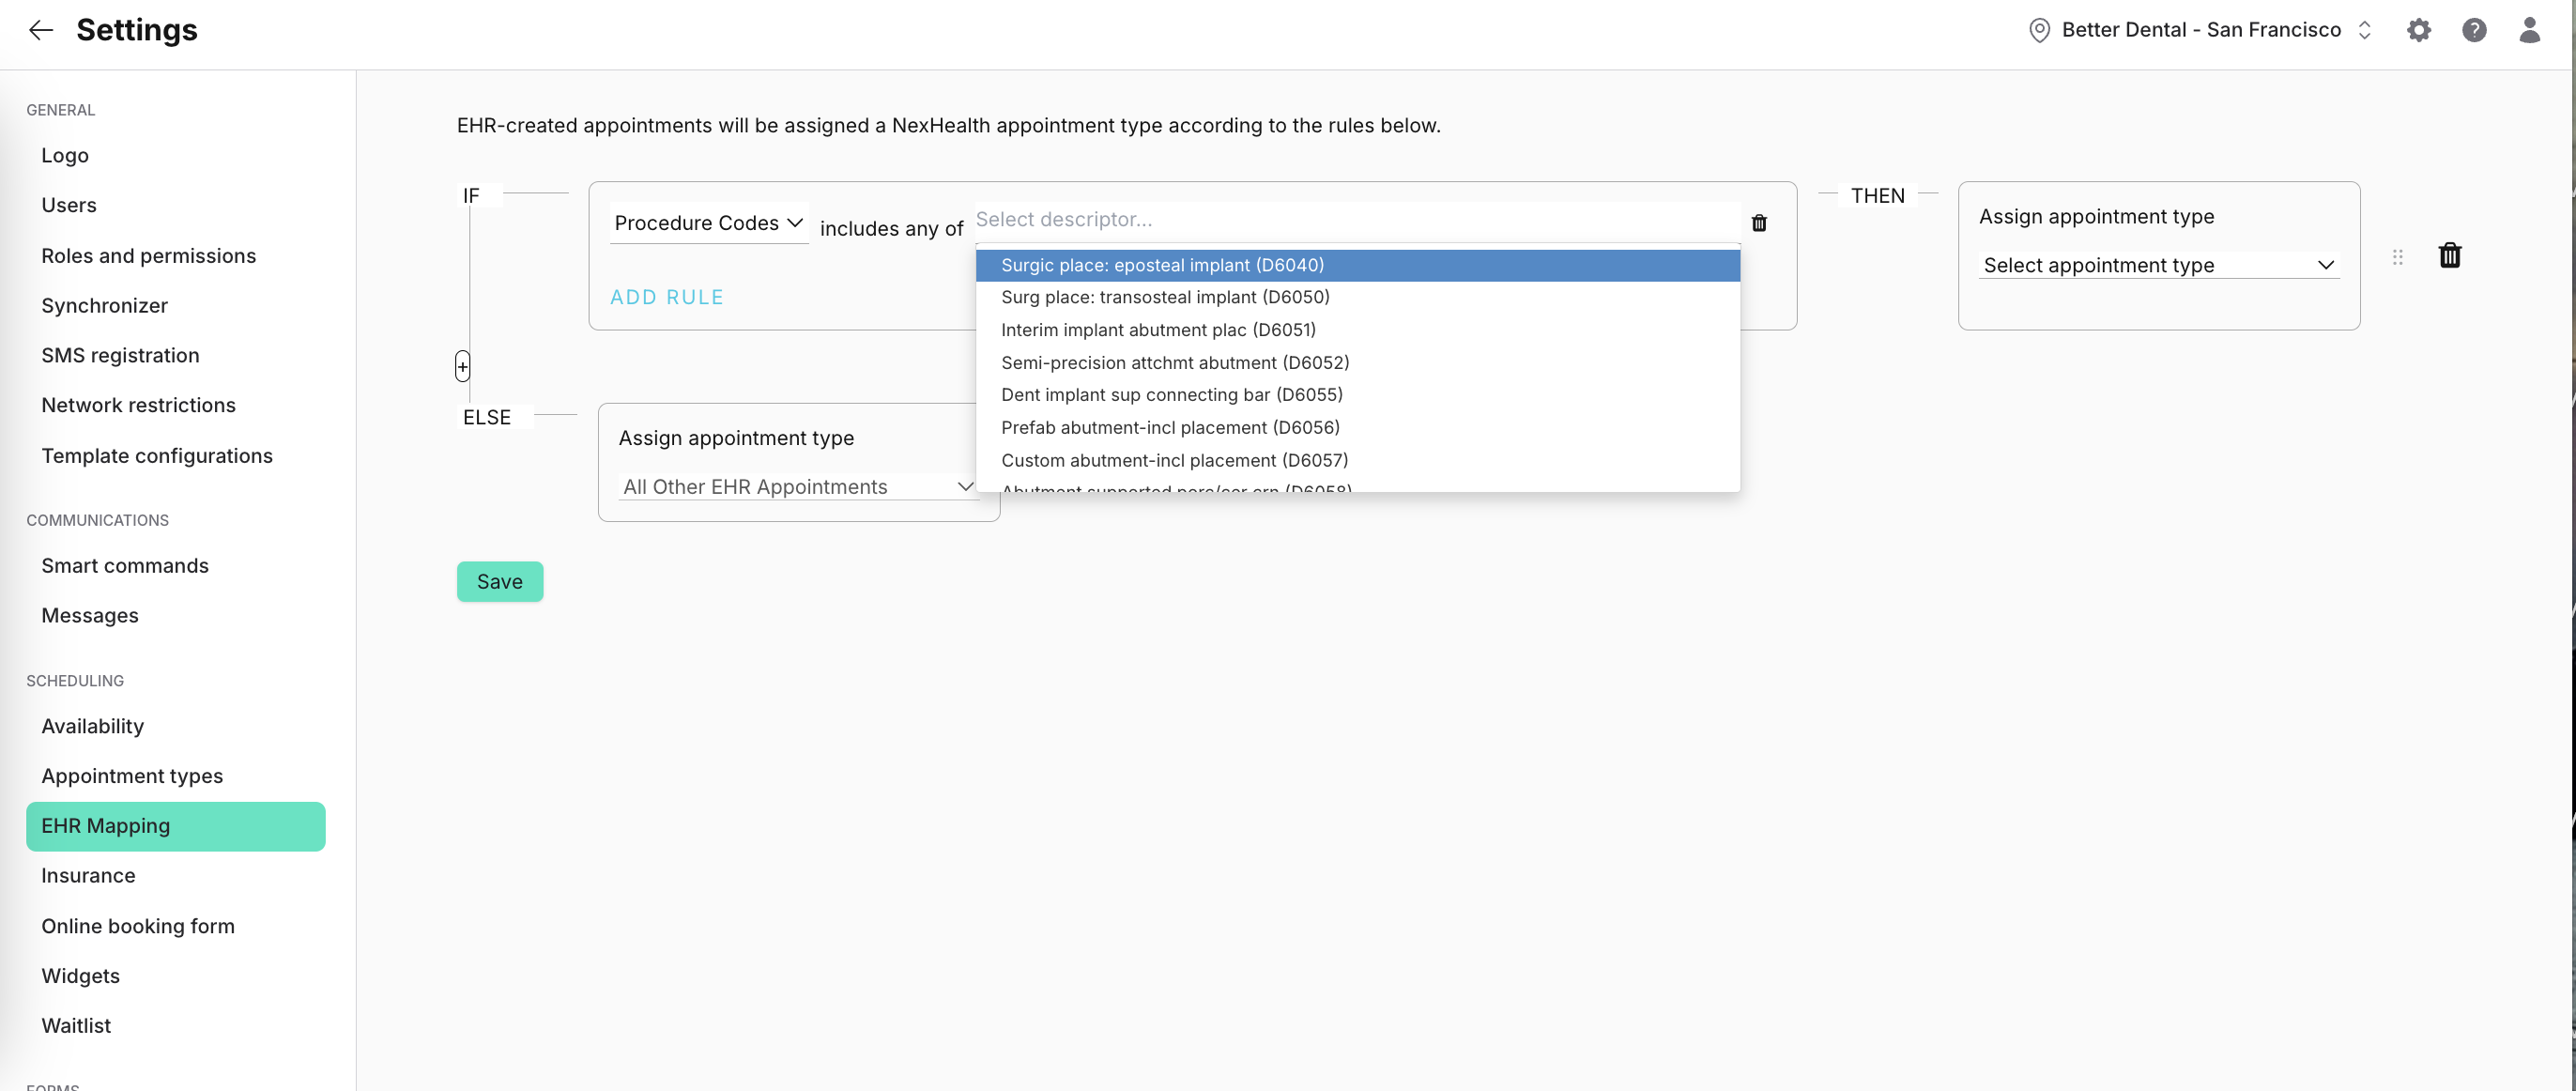
5. Switch the Then dropdown to assign the Appointment type you are creating the map for (this is the appointment type we created in step 2. This will automatically assign all appointments scheduled in your health record system with matching procedure code(s) to this appointment type. We will use that in Part 2 below.
Part 3: Build the desired template for your Appointment Type
Next build the customized communication to send Reminders, Post Appointment Follow ups, or Recall messages to patients scheduled for this appointment type.
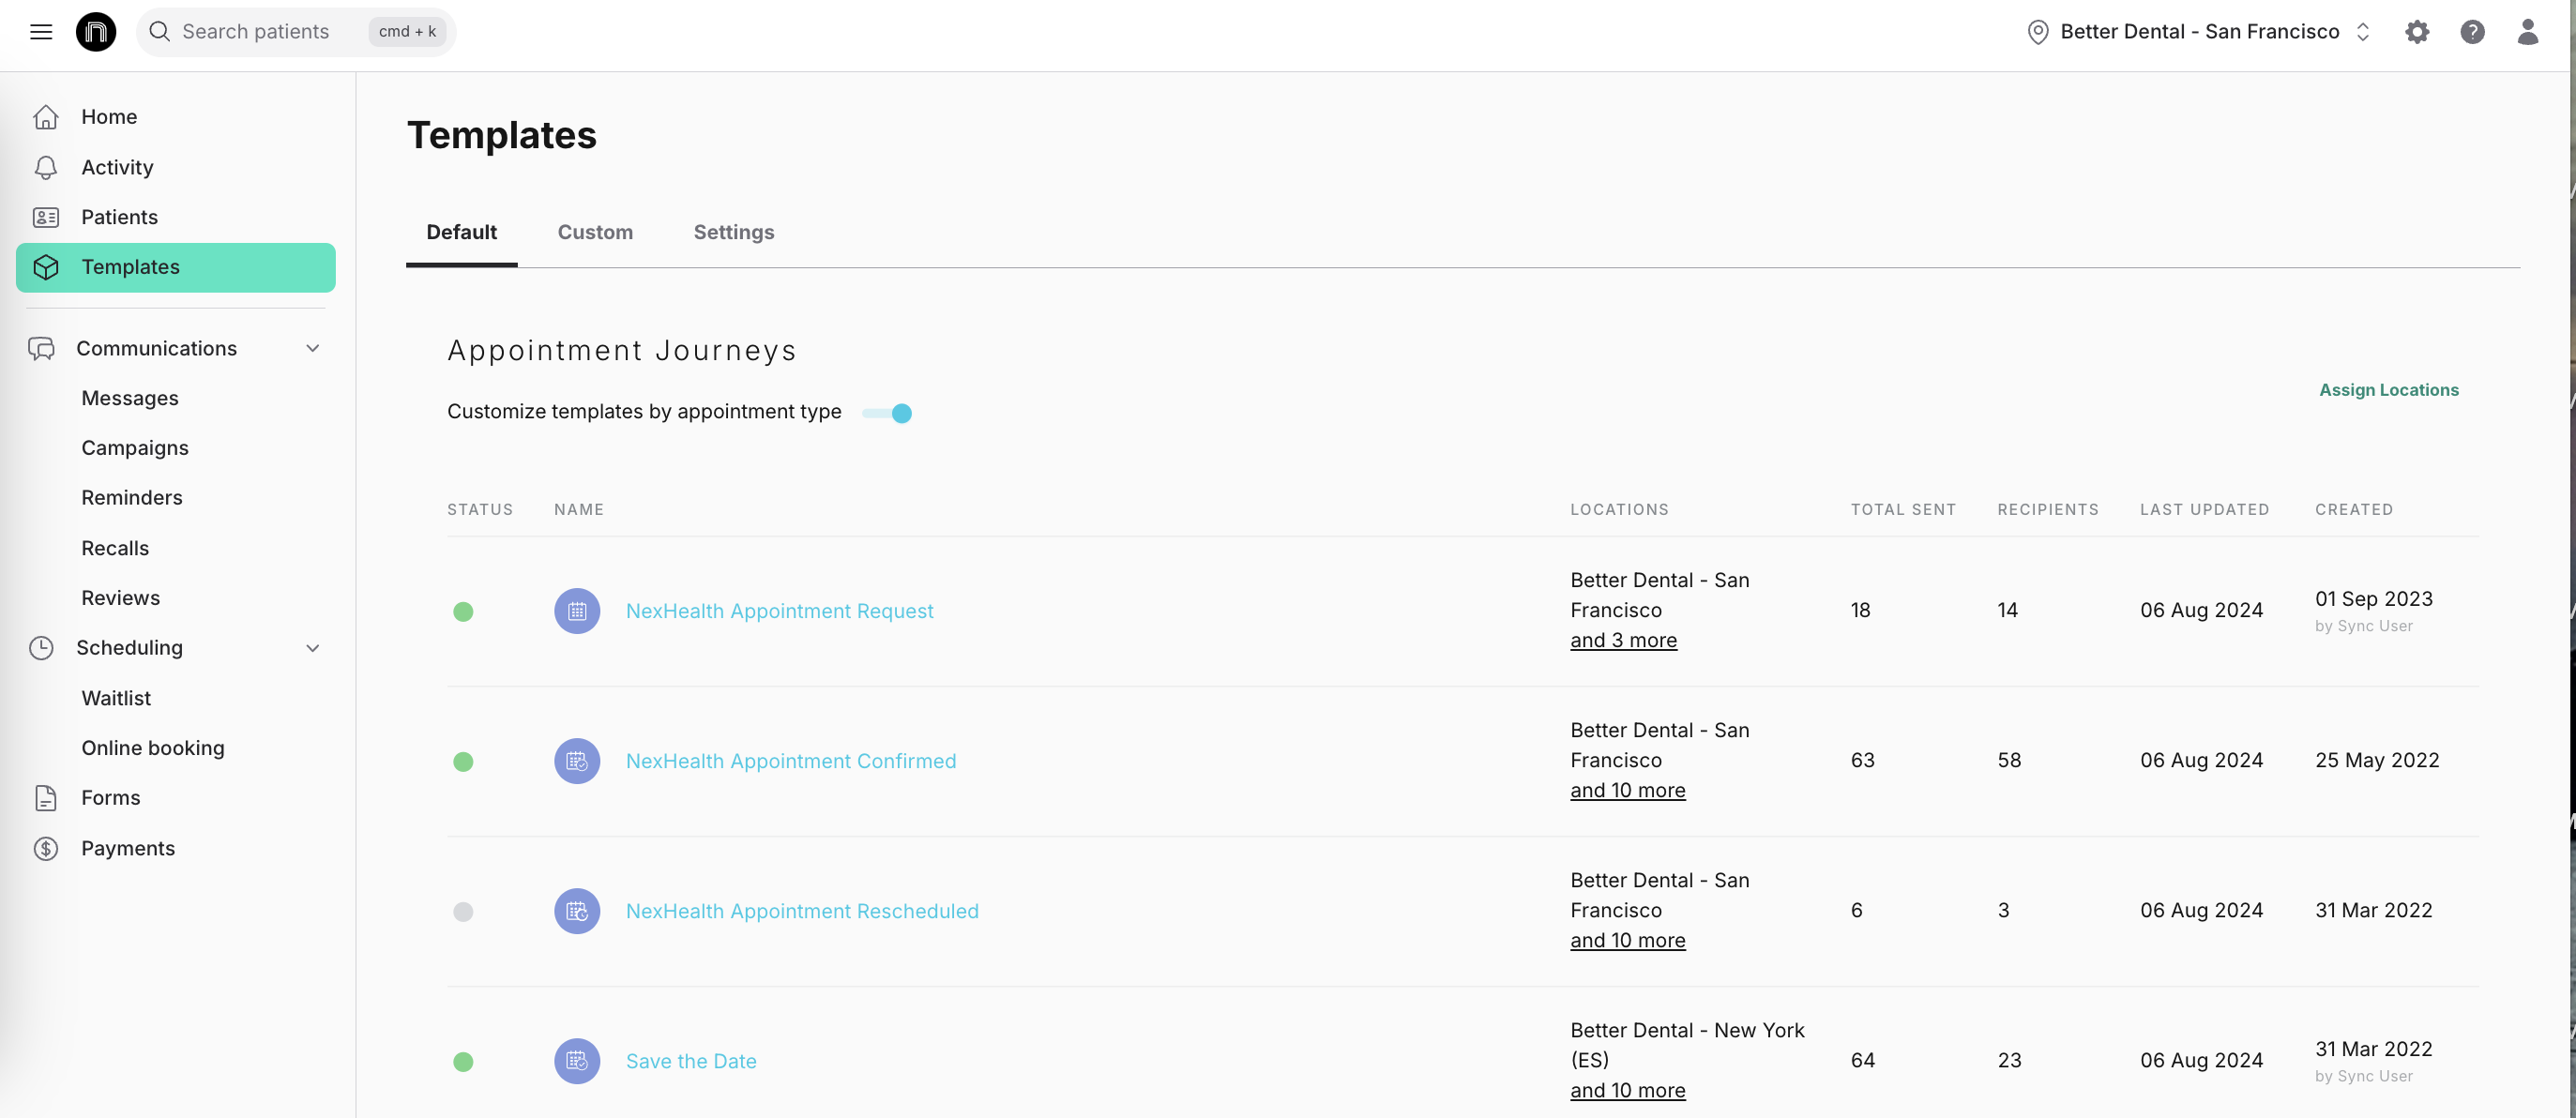
1. Navigate to Templates and ensure Customize templates by appointment type is toggled on.

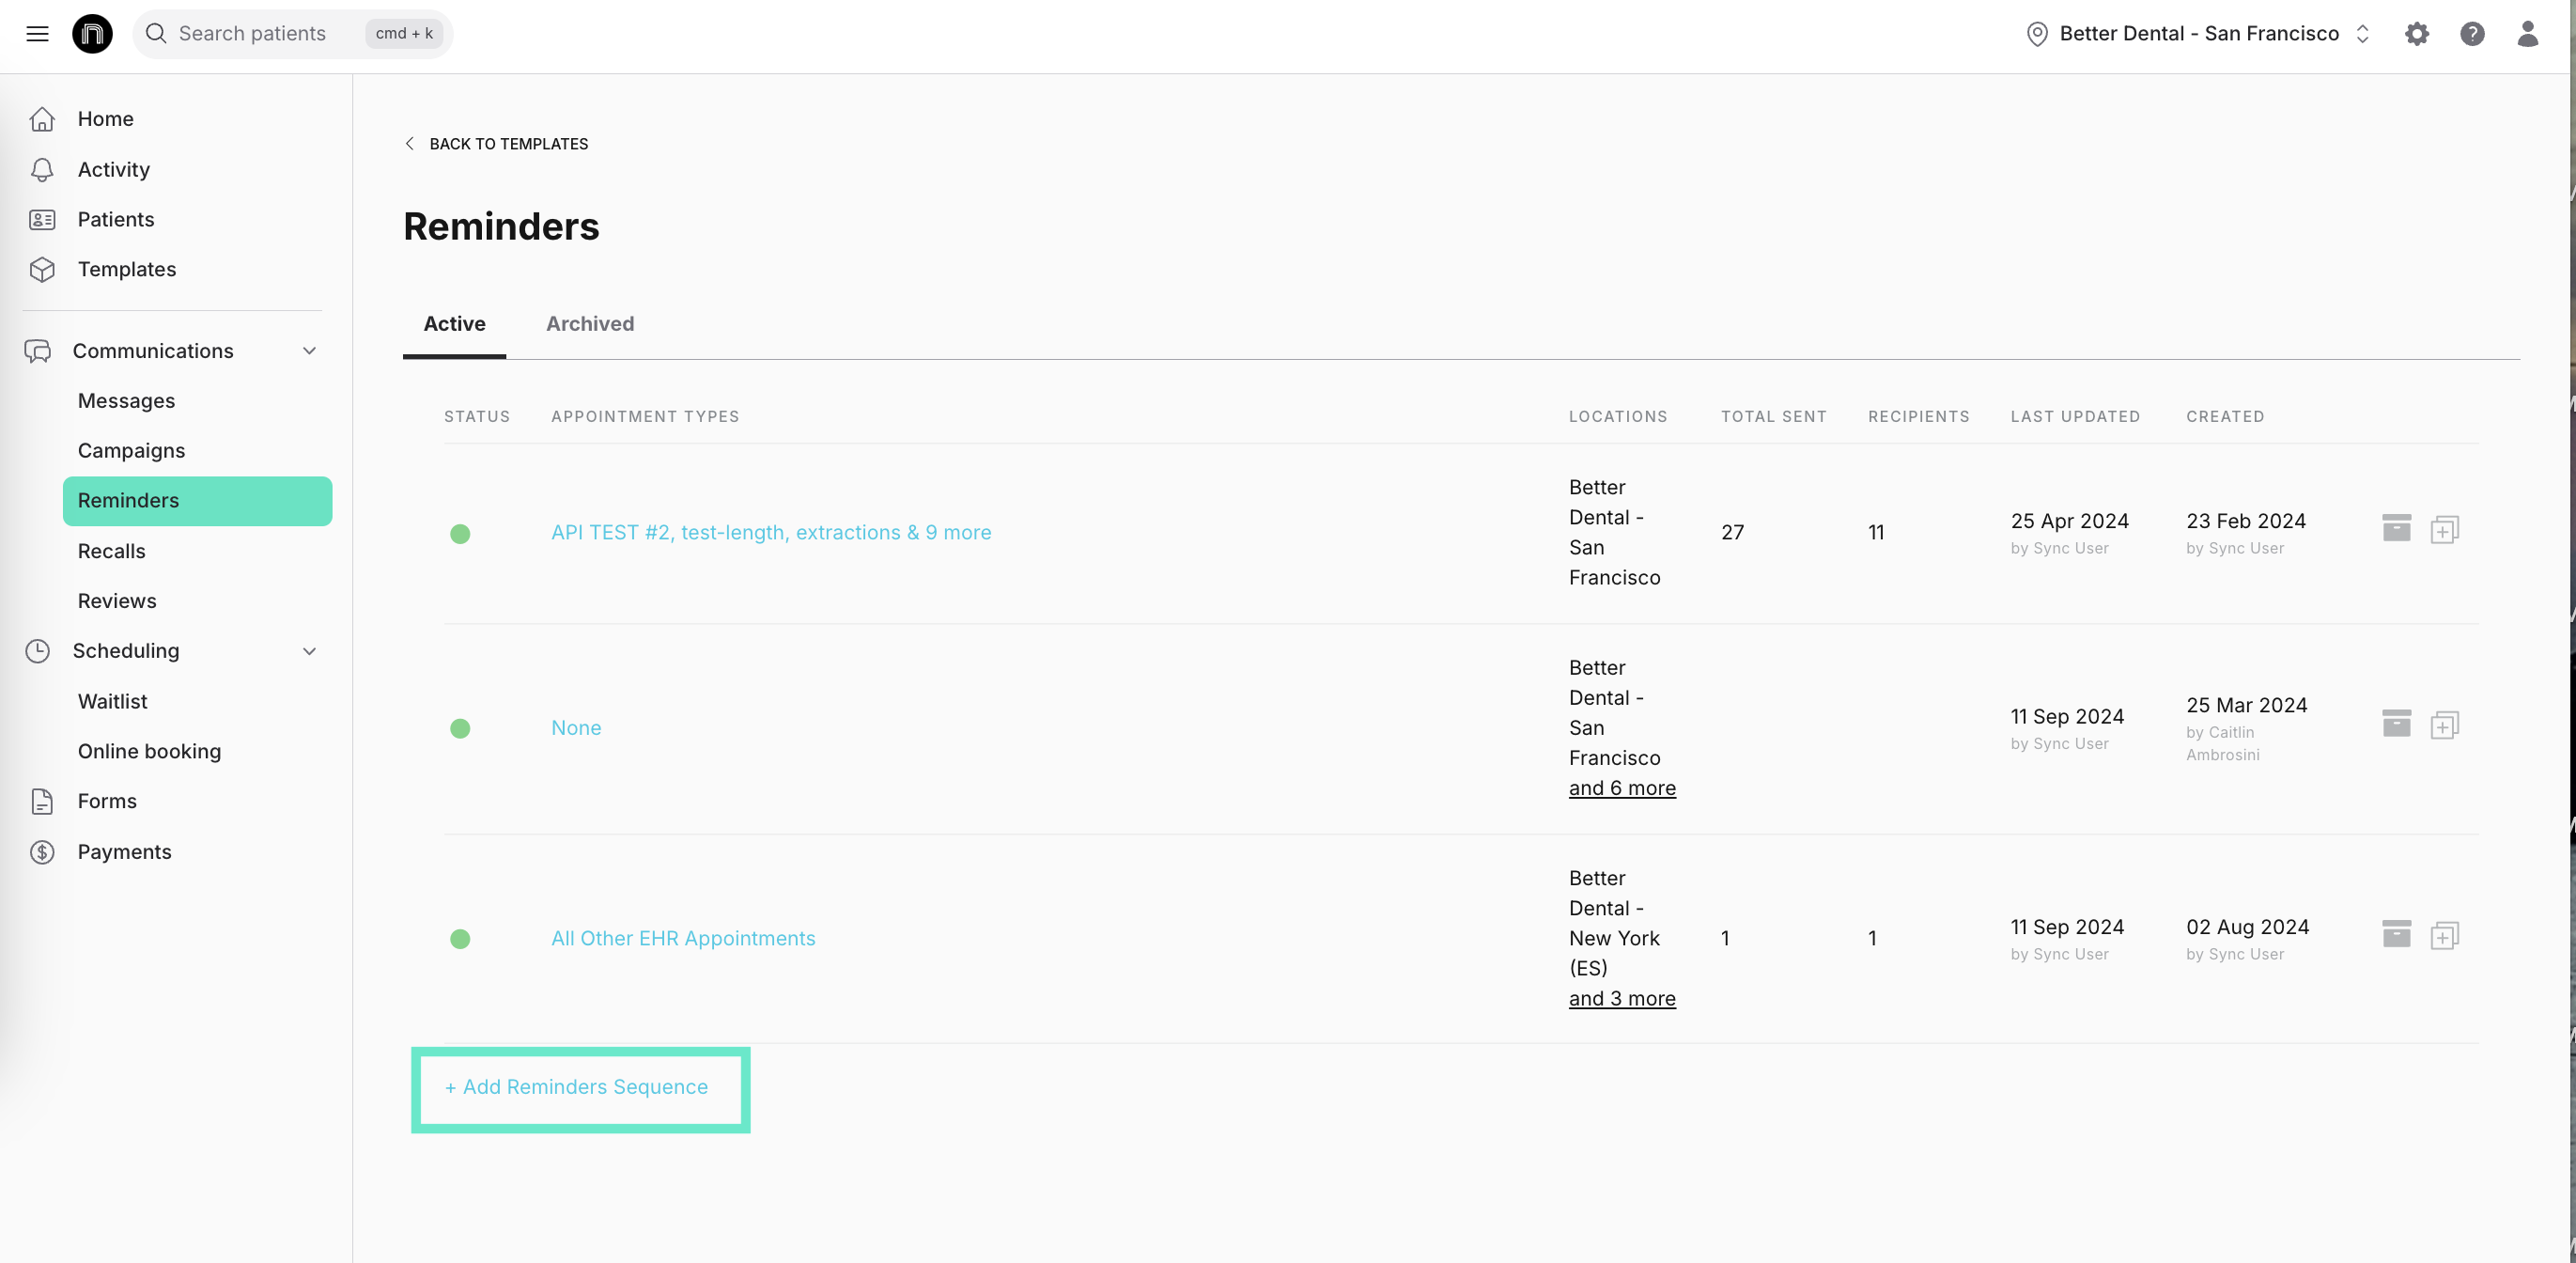
2 Select the template you would like to edit. This example uses Reminders, but it is the same process for the Post Appointment Follow up or Recall templates. Choose +Add Reminder Sequence.
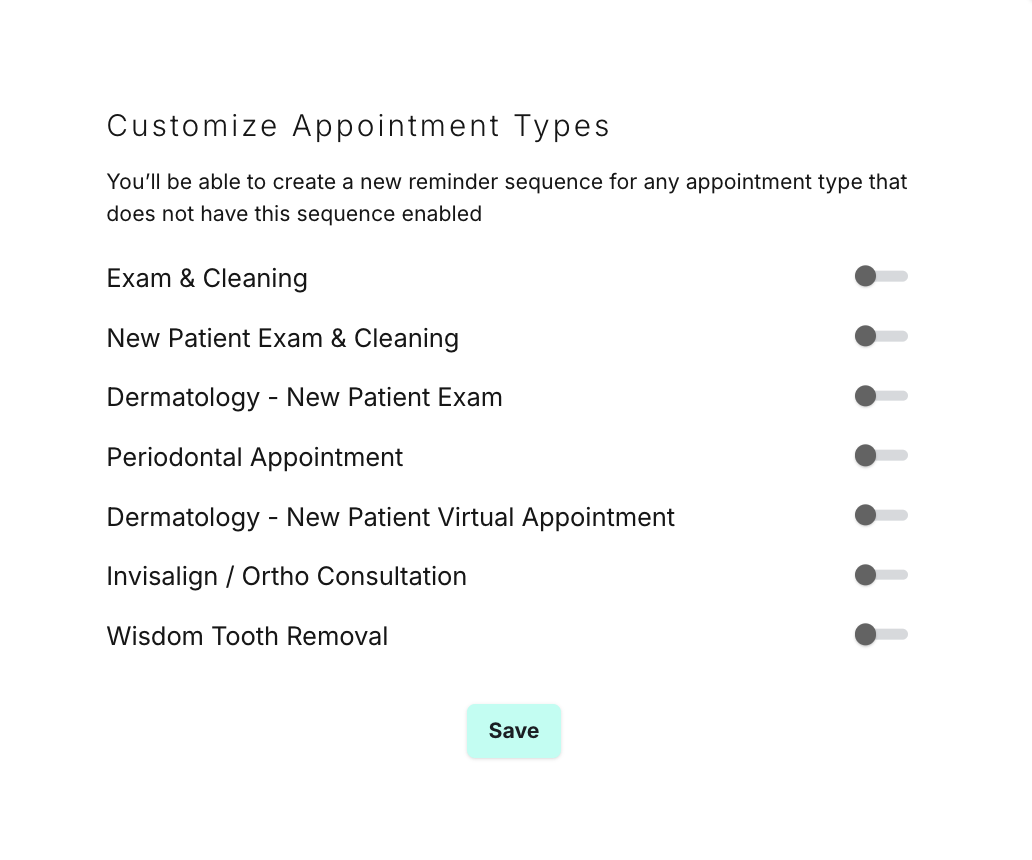
3 Toggle on the Appointment Type you created in Part 1 above and click Save.
5. That will open your template sequence.
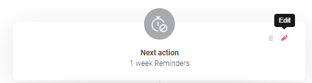
To edit the send times: Use the edit icon on the gray trigger tiles.
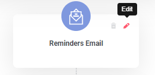
To edit the messaging: Use the edit icon on the purple message tiles. You can include prep instructions or consent forms.
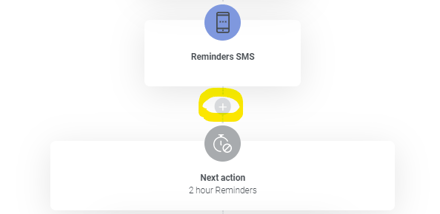
If needed, add additional steps in the sequence (like extra messages): Use the plus sign between items in the sequence.
6. When you're finished editing, turn the template toggle ON in the upper-left. This will start sending the template to appointment type as soon as a patient reaches one of your triggers (ex: if you have a 1 day reminder and patients scheduled for extractions tomorrow, they will receive the extraction reminder instead of the general one.)
Part 4: Build an automated Post Appointment Follow-up sequence
Now that patients are receiving reminders for their extraction, we'll build the post-appointment sequence. This is a great way to start a direct conversation with patients to give them instructions as they heal and ask how they're doing.
1. Navigate to Templates and ensure Customize templates by appointment type is toggled on.
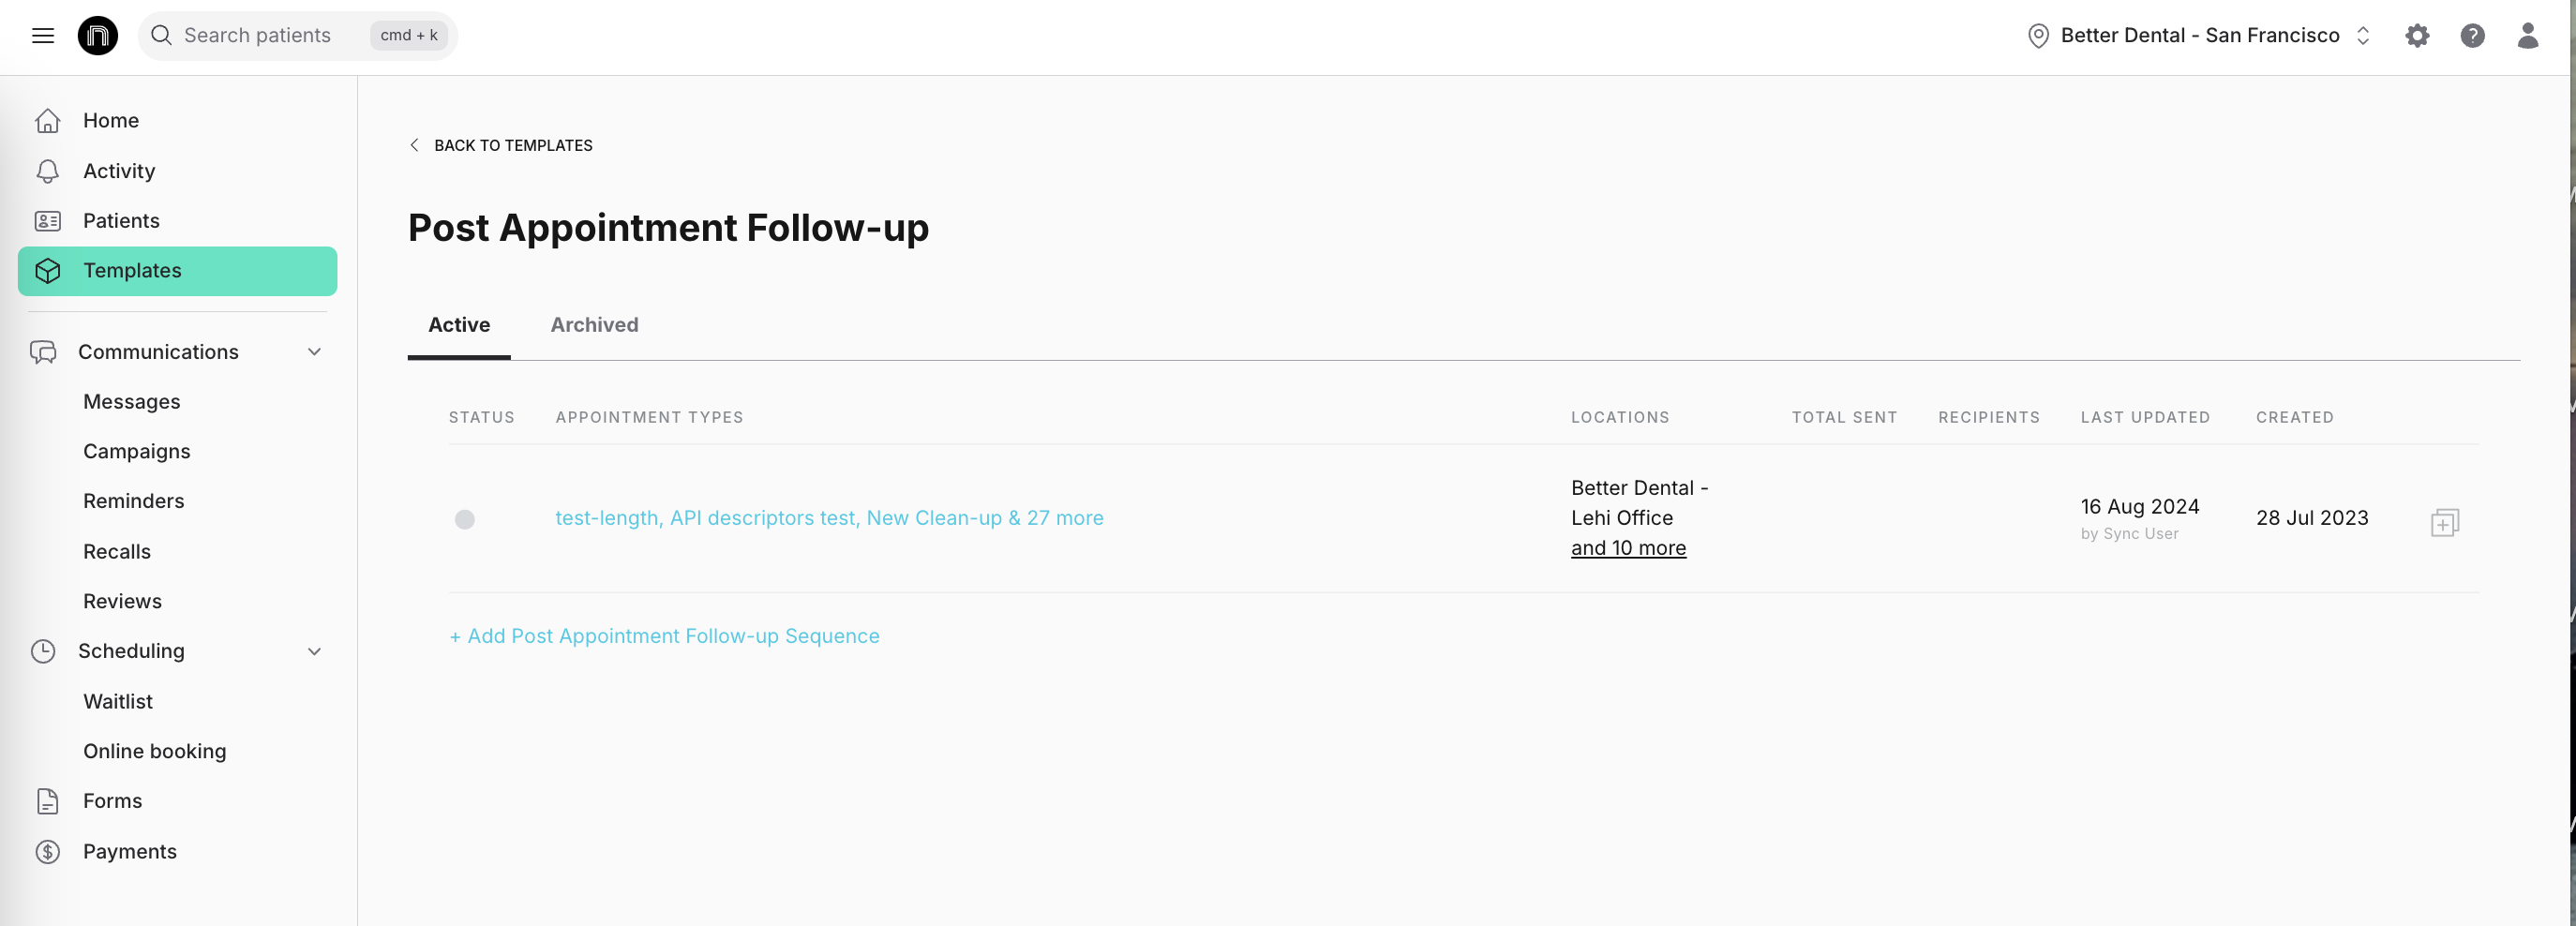
2. Select Post Appointment Follow-up.

3. This will open a list of all the follow-ups in your system. By default, you will have at least one for All Appointment Types. We are going to create another sequence that's just for the Appointment Type you created in Part 1. Click +Add Post-Op Sequence.
4. Then, toggle on the target appointment type you created in Step 1 and click Save.
5. That will open your Post-Op sequence.
Edit the send times: Use the edit icon on the gray trigger tiles.
Edit the messaging: Use the edit icon on the purple message tiles. This is the best place for care instructions and to add verbiage checking in. Optionally, you can also attach PDFs to your emails, if you have existing hand-outs you provide to patients.
Add additional steps in the sequence (like extra messages): Use the plus sign between items in the sequence.
6. When you're finished editing, be sure to turn the template toggle on in the upper-left. This will start sending Post-Op messages to the target patients as soon as they reach one of your triggers. If a patient responds to an emailed follow-up, it will be sent to the email your admin selected during onboarding. If a patient responds to a texted follow-up, it will appear in your Messages.
Step 4: Building a custom recall sequence to book follow-ups
If you have patients schedule follow-up appointments after a specific appointment, you can send an automated recall to patients after they have completed the appointment to book those.
1. Navigate to Templates and ensure Customize templates by appointment type is toggled on.
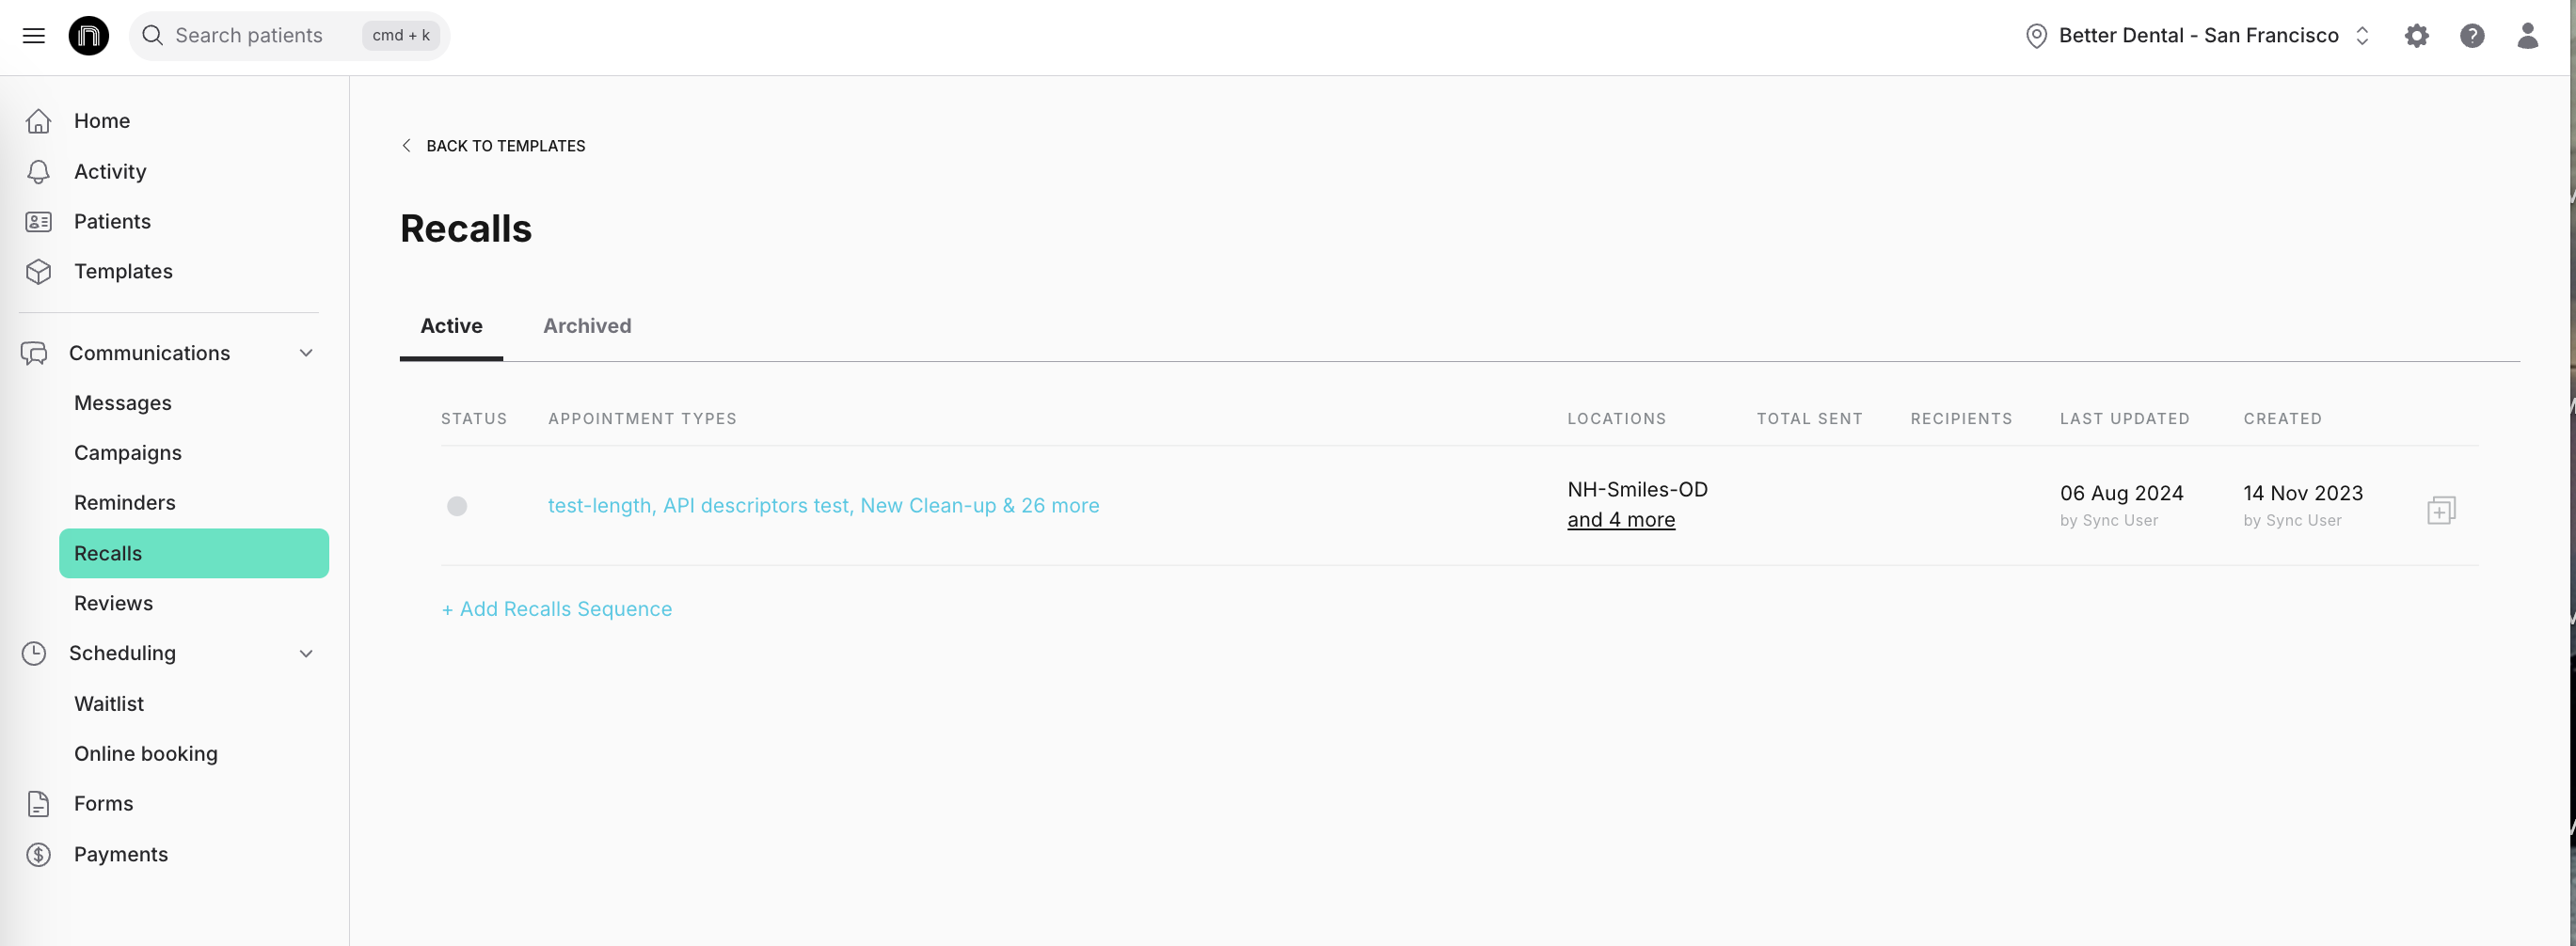
2. Select Recalls.
3. This will open a list of all the follow-ups in your system. By default, you will have at least one for All Appointment Types. We are going to create another reminder sequence that's just for the appointment type you created in Part 1. Click +Add Recalls Sequence.
4. Then, toggle on the Appointment type you created in Part 1 and click Save.
5. That will open your Recall sequence.
Edit the send times: Use the edit icon on the gray trigger tiles.
Edit the messaging: Use the edit icon on the purple message tiles. When editing your message tiles, be sure to add the 1-Click booking for your follow-up appointment type from the Appointment Slots smart commands.
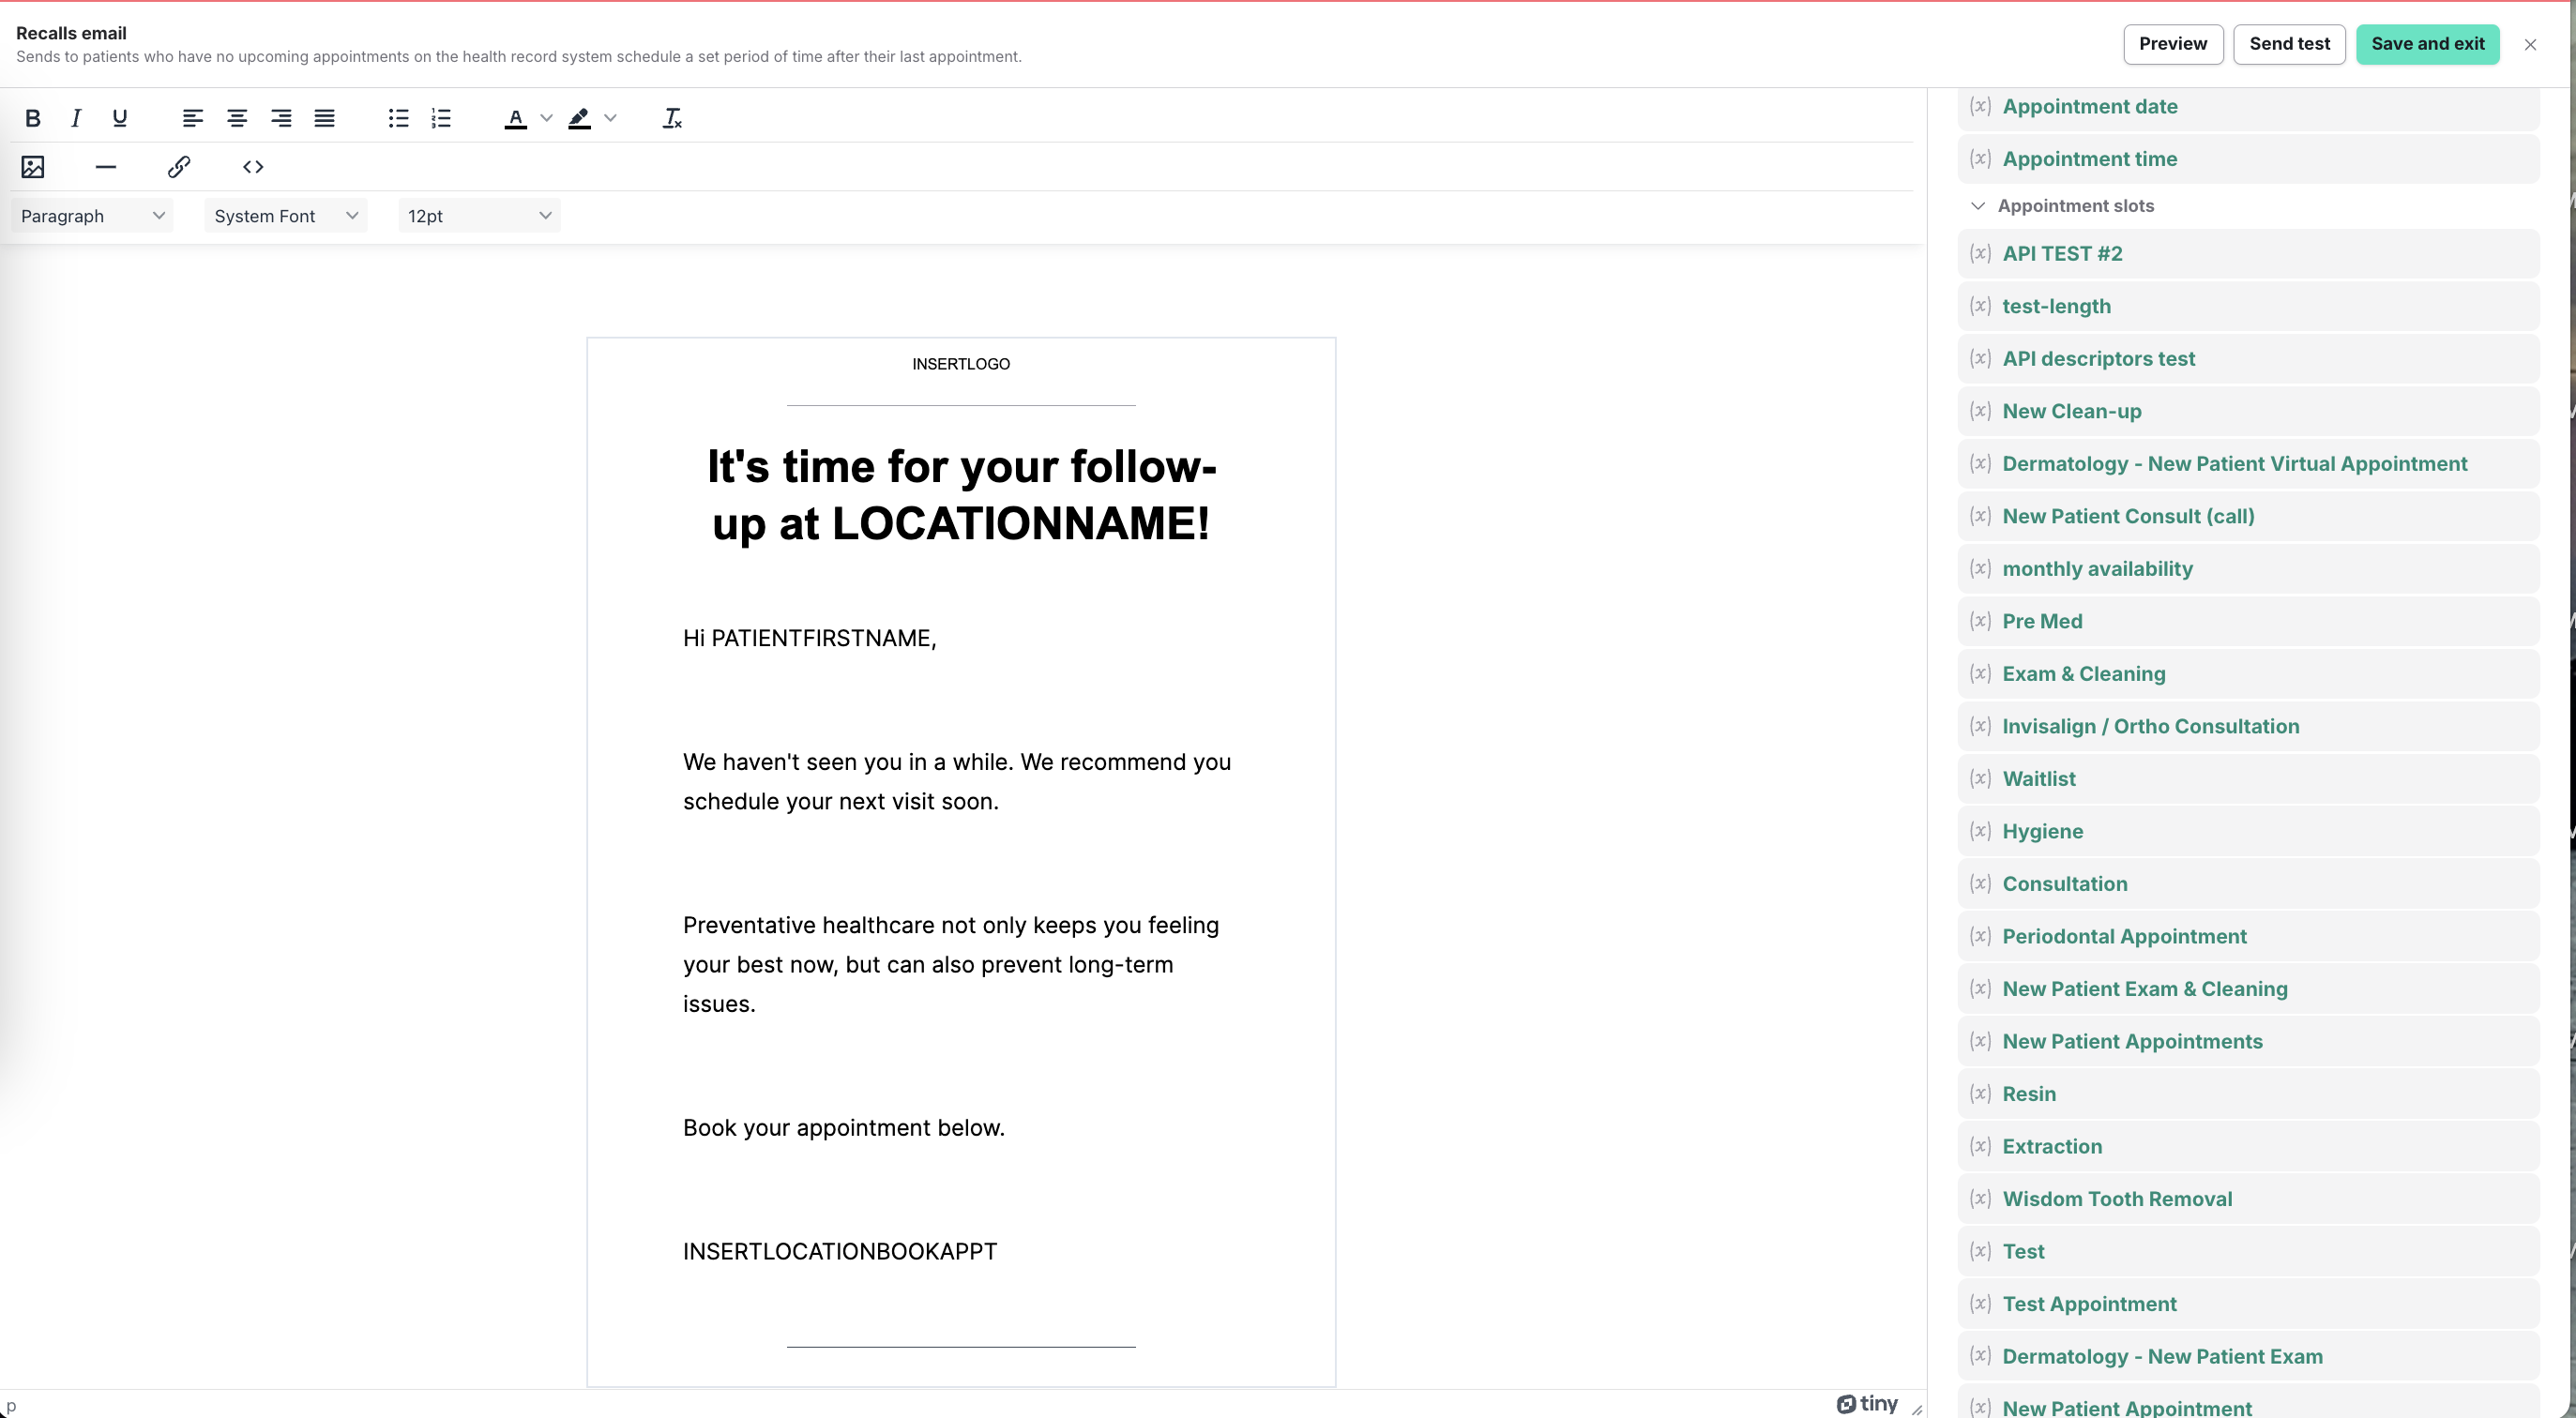
Add additional steps in the sequence (like extra messages): Use the plus sign between items in the sequence.
6. When you're finished editing, be sure to toggle on in template in the upper-left. This will start sending Post-Op messages to your patients as soon as they reach one of your triggers. If a patient responds to an emailed follow-up, it will be sent to the email your admin selected during onboarding. If a patient responds to a texted follow-up, it will appear in your Messages.
And I've used at least 6 others." - Shaye, Falmouth Dentistry